I referred to 650 CCN&D's Re-Jet How To for instructions on some parts.
You need an army of tools for this one: wrenches, sockets, screwdrivers, allen keys, pliers, and a drill with preferably smaller drill bits. I also had to buy an extractor to get the carb screws out.
This is the first mod that I couldn't finish in a day. A lot of time was wasted trying to take the carb screws out just by sheer determination and a good pair of vise grips. Friends, that just isn't enough some times.
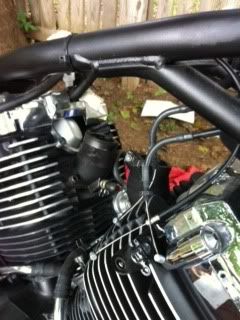
First order was to get to the carbs. You can check out the Service Manual link for step by step instructions. The gas tank, air cleaner, breather, and some wires have to be moved out of the way.
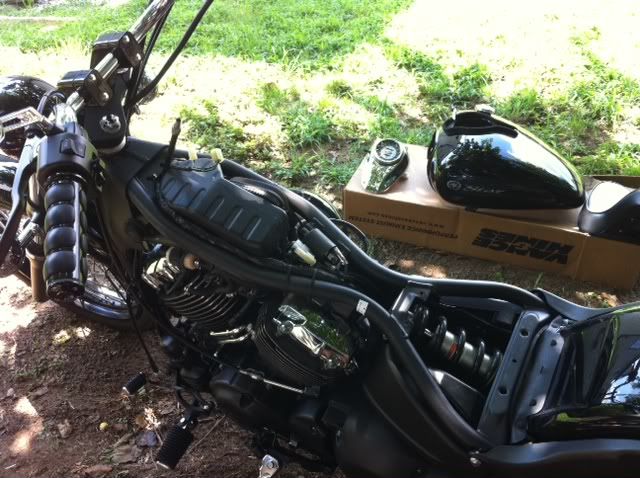 |
| Always a good tip to have the tank nearly empty when removing it. It's heavy! |
Carefully removing all hoses and wires snaking around...
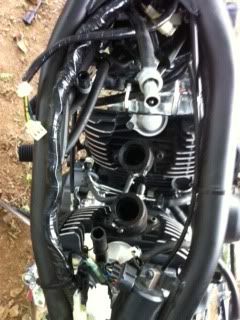 |
Then we come to the tedious part of this project. Many V-Star owners curse whoever made the choice to put such soft screws that easily strip to hold together, of all things, your carburetor! Every imaginable way has been found and attempted to get these inconvenient screws out of the way, nothing short of grinding them down, hammering, whatever it took.
I had completely destroyed the screw heads trying to pry them off with vise grips by the time I took a trip to Lowe's for an extractor. I settled for a GRABIT extractor thinking it should be okay. Was I wrong! This thing grabbed the stripped screws easily and I was done in just a few minutes!
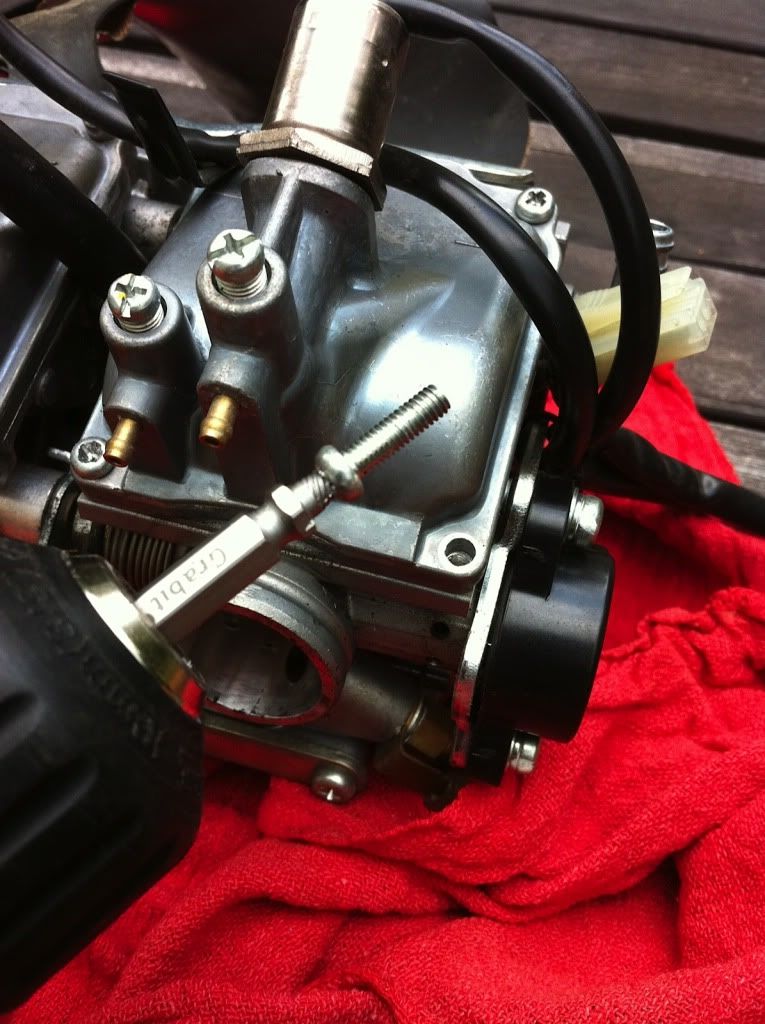 |
| The GRABIT Extractor made short work of these
stubborn carb screws
|
To change out the jets, you need an extremely skinny straight slot screwdriver, nothing complicated on this one. Screw the old one out, put the new one in, no need to gorilla torque it, just tighten slightly.
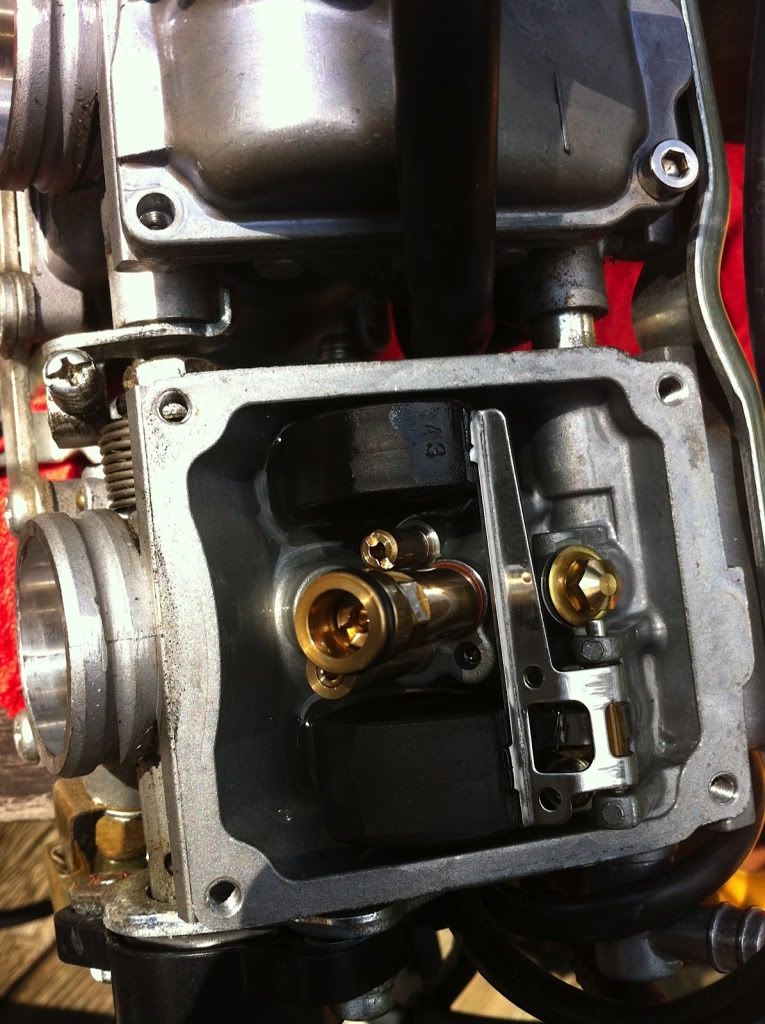 |
The jet should is the one in focus. After the carb screws are replaced with better ones,
the jets can be accessed without removing the gas tank, just the carb cover.
|
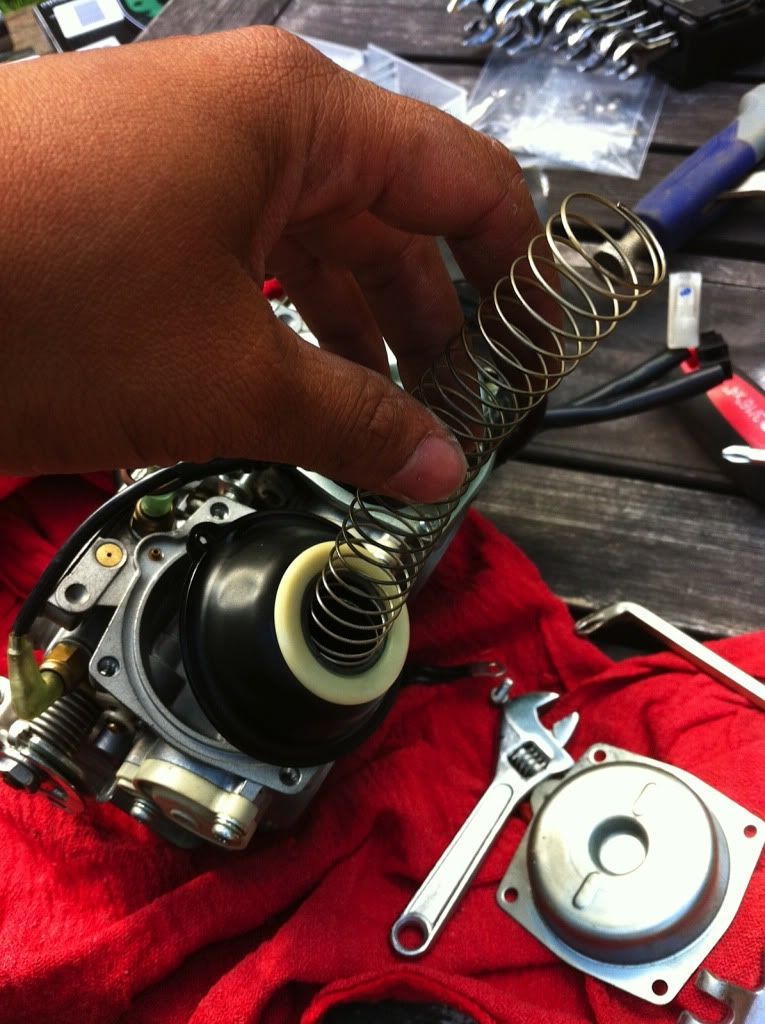
This is the part where you hear a lot of carb talk about needles and shimming.
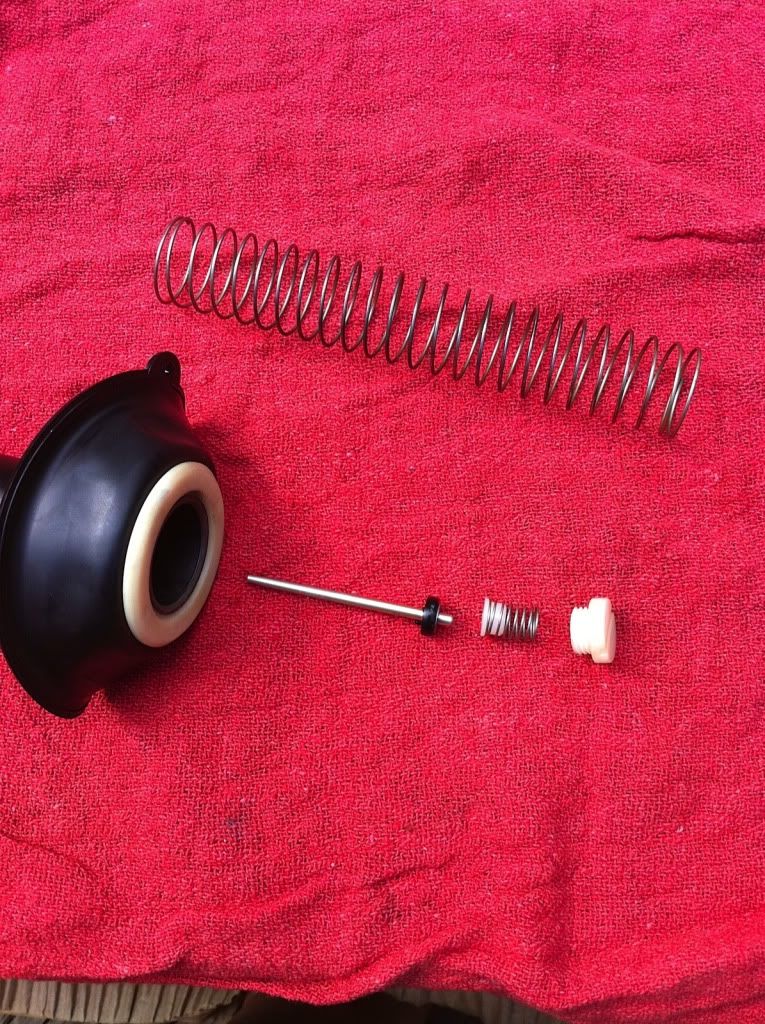
The needle has grooves on it and they're counted from the more blunt end. My mod called for shimming it on the 4th groove so that's where I placed the stock clip on my new needle. Some people use washers and stack it on the blunt end to get the same effect as placing a clip on the groove.
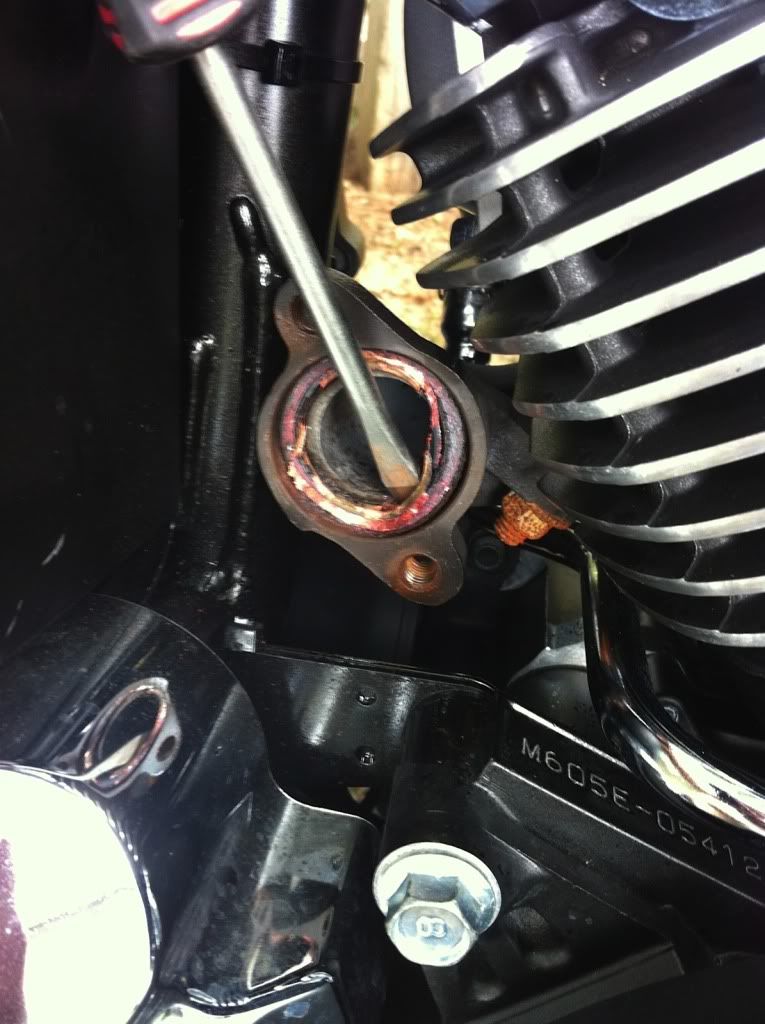
While the carb was opened up, I drilled out the brass plug that covered the PMS screw using the GRABIT again. This tool is more than worth the money. A lot of owners have griped about removing this brass plug as well, with some drilling to far and damaging the plastic screw inside.
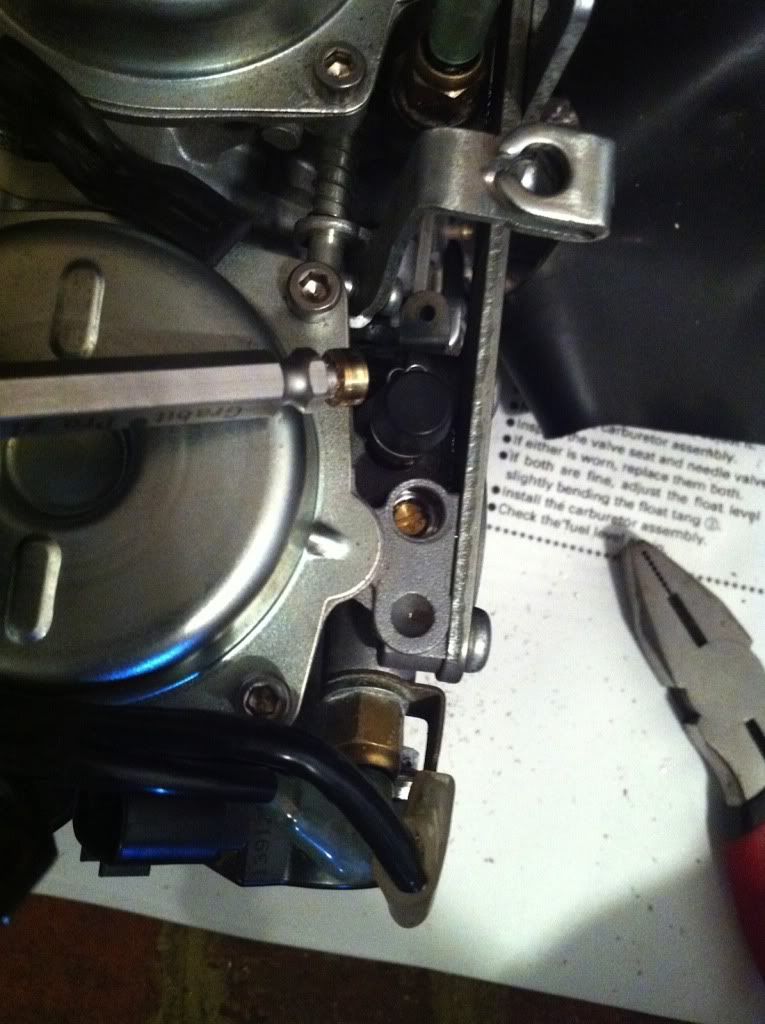 |
| Removing this brass plug gives you access to the PMS screw. Mine is backed out 3 1/2 turns. |
To get the exact needle shims, PMS screw turns, and right size jets for the pipes you have, checkout 650ccnd.com's Re-Jet Chart.
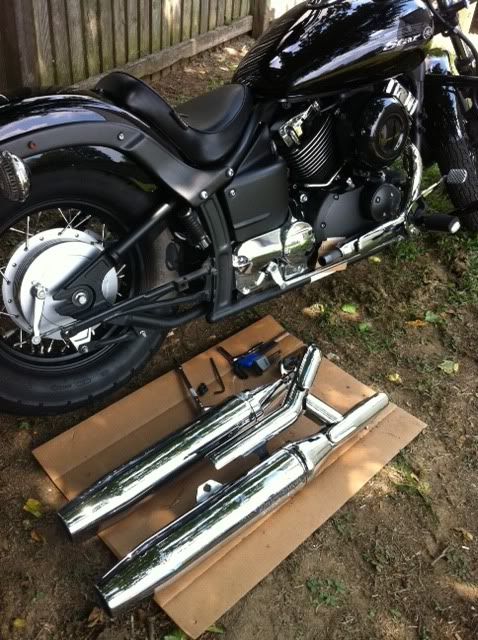
Putting everything back together, I used Ziv's Carb Screw Kit which had a handy tool for taking the screws on and off and the right size replacement screws for the ones I demolished.